Have you ever been in a space where you wished you had access to MacOS Apps? Done that, been there. Many times, we have come across situations wherein we found out that our preferred application is only supported on MacOS.
So, if you are a Windows user and are finding your way out through this tech jungle, here is your way out. In this article, we are going to give out just the stuff you need. Without further due, let’s dive right into the topic for the day.
Steps to Run macOS Apps on Windows
To make this task forward, you will need to install a virtual machine on your Windows PC. After completing this step, we will then proceed to the installation of MacOS Catalina. So, buckle up and keep reading to reach your final destination!
Before we proceed any further, we will need to download the following files:
Step 1: Installing Virtual Box
- The first step is to download Virtual Box. Hence click on the link mentioned above and get the app downloaded.
- Now you can start to set up.
- Follow the instructions given on the screen to install Virtual Box successfully.
- After the installation, now you can launch the Virtual Box.
- After the launch, click on New which is placed on top of the screen.

- Now, you will have to name this. For example, Name it: macOS.
- Leave the other fields as they are (Type: macOS X, Version: macOS X 64-bit) and click Next.

- After this, you will have to allocate RAM to this Virtual Machine. Give it around 50% of the total available RAM. Or 4GB at the very least and click Next.

- Now under the Disk Section, click on use an existing hard disk file.
- Now, go to the downloaded macOS Catalina Image file, select it, and click on Create.

- macOS will be successfully added to the machine.
- Now, select it from the left menu bar and click Settings.

- Go to System from the Settings dialogue box, and uncheck Floppy from the boot dialogue box.
- Make sure that the Chipset is set to ICH9.

- Now, go to the Processor tab and allocate two processors. Similarly, tick mark the Enable PAE/NX option.

- Next, go to the Display section and allocate 128MB to Video Memory.
- Now, Enable Use Host I/O Cache under Storage and USB 3.0 under the USB section and click OK.

- After this, there are a few commands that we need to execute in Window’s Command Prompt to make it work.
- Now, close this window and open Command Prompt as administrator.

- Execute the below command to find the Virtual Box directory (below is the default installation directory, if you have installed in some other directory, make sure to replace the command accordingly): cd “C:\Program Files\Oracle\VirtualBox\”
- Execute the given commands one by one. However, just make sure to replace the virtual_machine_name code with the original name of your Virtual Box.
Commands
VBoxManage.exe modifyvm “virtual_machine_name” –cpuidset 00000001 000106e5 00100800 0098e3fd bfebfbffVBoxManage setextradata “virtual_machine_name” “VBoxInternal/Devices/efi/0/Config/DmiSystemProduct” “iMac11,3”VBoxManage setextradata “virtual_machine_name” “VBoxInternal/Devices/efi/0/Config/DmiSystemVersion” “1.0”VBoxManage setextradata “virtual_machine_name” “VBoxInternal/Devices/efi/0/Config/DmiBoardProduct” “Iloveapple”VBoxManage setextradata “virtual_machine_name” “VBoxInternal/Devices/smc/0/Config/DeviceKey” “ourhardworkbythesewordsguardedpleasedontsteal(c)AppleComputerInc”VBoxManage setextradata “virtual_machine_name” “VBoxInternal/Devices/smc/0/Config/GetKeyFromRealSMC” 1After you have completed the execution of these commands, you can now close the cmd window and proceed further. Launch the Virtual Box and double click on the macOS virtual machine to start the process.
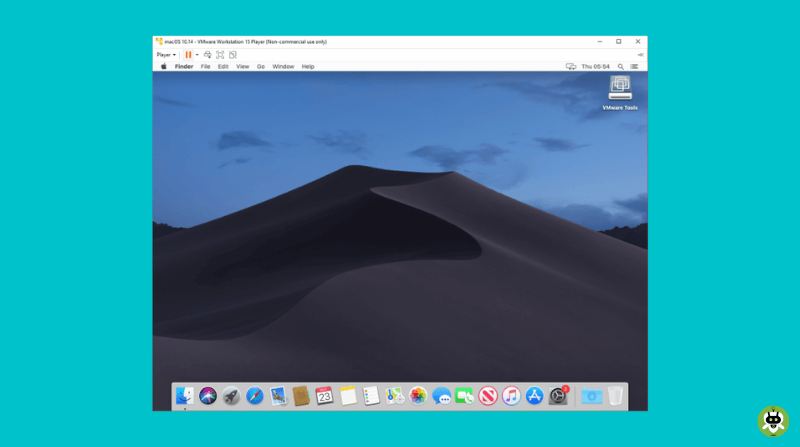
You might see a grey loading screen for a couple of minutes, which is a part of the process and expected. After a few minutes, you should be taken to the macOS overview screen. With this, you have completed the preliminary process.

Now, moving onto the second part to run MacOS Apps on Windows.
Step 2: Run MacOS Apps on Windows
- First things first, you will have to sign in using your official Apple ID. This will help you in the authentication process.
- To sign up, click on the Apple icon and go to System Preferences.

- Next, sign in and punch in your credentials.
- On completion of this process, you may now access the App Store from the Dock.
- Then search for the desired app and click on Get > Install. When installed, just click on the Open button.
- You are good to go now.
NOTE: Keep in mind that you should never directly close the virtual machine. Alternatively, you should click on the Apple icon and select the Shutdown option.
That’s all for today. We hope you liked reading this article and found it insightful. Feel free to drop by this article anytime you like for any confusion that may arise in the future. On that note, stay tuned to Fixing Port, your one-stop destination for all the latest tech news and updates.
Yes, you can run Mac applications on Windows by using a program known as VirtualBox.
No, you can’t run a .exe file in macOS.
To manage storage on my Mac, choose the Apple menu, then click on About this Mac and click on Storage.