
Here, in this article, we’ll talk about how to create Restore Point in Windows 11. At times, we all want to go back to the past or maybe we want to relieve some past moments which is basically impossible in real life. Though, unlike our real life, it is possible on Windows 11. You get to return the things in the particular positions in which they were before.
But to do so, either the user has to manually create a restore point, or have the Windows configured. If the Windows has been confirmed, the restore point gets created automatically.
Methods To Create Restore Point In Windows 11 Manually
Several methods can help you to create a restore point in your Windows 11. Now we’ll discuss those particular methods.
Method 1: Using System Properties
To use System Properties to create a Restore Point, follow the steps.
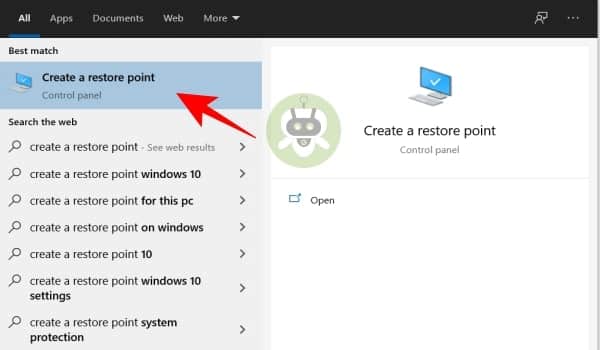
- Press Start and type Create Restore Point. Now select the option (as shown below).
- Locate the Create button at the bottom and click it, once the System Properties window appears.
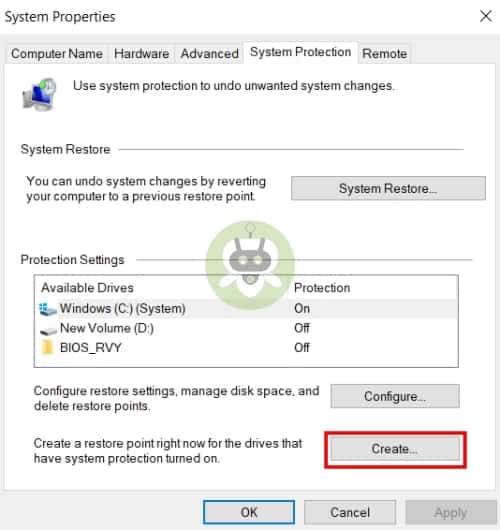
- If you see it’s greyed out, you need to turn on the System Predictions.
- Give a name to this Restore Point and click Create.
The process to prepare the Restore Point might take some time.
Method 2: Using Command Prompt
You can create the Restore Point by using the Command Prompt too. Here’s how to do it.
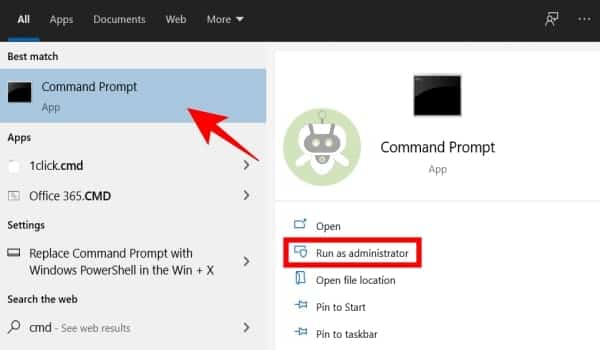
- First, you need to press Start > Type ‘cmd‘ and click Run as administrator.
- Type the command mentioned below and press Enter.
wmic.exe /Namespace:\\root\default Path SystemRestore Call CreateRestorePoint “Restore Point Name”, 100, 7

- Replace Restore Point Name with whatever you want to name the restore point. The creation of the system restore point is successful if the ‘Method execution successful‘ and ‘ReturnValue=0’ messages are written in the box.
Method 3: Using PowerShell
The restore point can be created by using PowerShell. To do so:
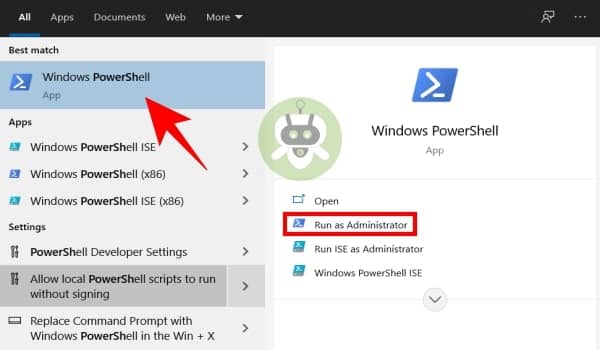
- Click Start > Type PowerShell > Run as administrator.
- Type the command mentioned below and press Enter.
powershell.exe -ExecutionPolicy Bypass -NoExit -Command “Checkpoint-Computer -Description ‘Restore Point Name’ -RestorePointType ‘MODIFY_SETTINGS'”

- Replace the Restore Point Name in the command with whatever you want it to be.
You should get to see the progress of the Restore Point creation.
If you receive a message from PowerShell saying that you can not create more than one restore point in 24 hours, you need to edit the registry for it.
Methods To Create Restore Point In Windows 11 Automatically
In some cases, Windows itself can create a Restore Point. But you can also set the configurations to create at every restart. Both the cases have been discussed below.
Method 1: Check out the Restore Points created automatically by the system
Windows can create the Restore Points automatically by itself if the configurations have been set right. To check the system-created Restore Point follow these steps.
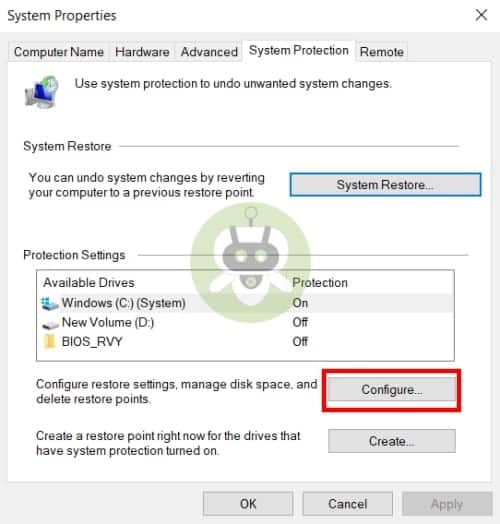
- Start > Type Create a Restore Point > Choose the option.
- The System Properties window will appear. Select the System Protection > click Configure.
- Select Turn on system protection. Now Windows will allocate disk space for Restore Points automatically. Though you can set how much disk space the System Protection can use. To do this, move the slider located under Disk Space Usage.
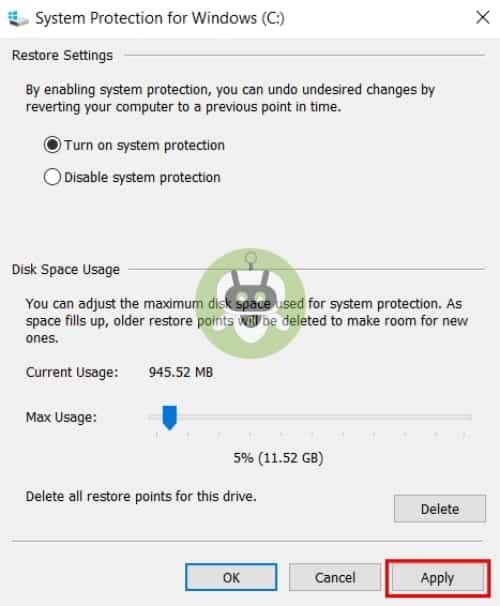
Once you’re done with all the steps; click Apply. Windows 11 will be creating Restore Points whenever any major change is made. Example: New updates.
There’s a Delete button also to remove previous Restore Points.
Method 2: Create new Restore Points automatically at startup
You can set up the configuration to create new Restore Points automatically at startup; if you don’t want to deal with the trouble of creating new Restore Points every time a change is made. To do so, follow the steps.
First, you need to change the Restore Point creation frequency. The default setting doesn’t let the user create a new Restore Point if one has been created within the past 24 hours.
- To change this setting, press Win + R, thus the RUN box will be opened. Now, type regedit and press Enter.
- Copy and paste the following address in the registry address bar and navigate to that address.
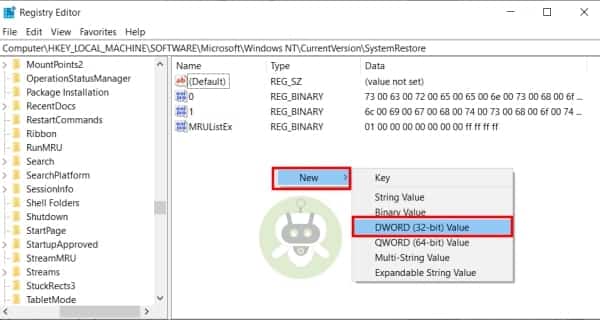
Computer\HKEY_LOCAL_MACHINE\SOFTWARE\Microsoft\Windows NT\CurrentVersion\SystemRestore
- Right-click in the empty space on the right and select New > DWORD (32-bit) Value.
- Now, name it as SystemRestorePointCreationFrequency.
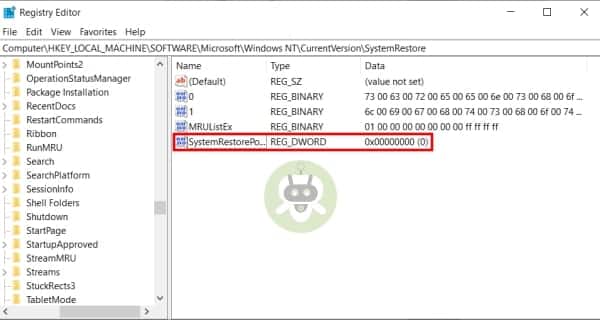
- The value of it has been set to 0 by default. Let it be the same and close the Registry Editor.
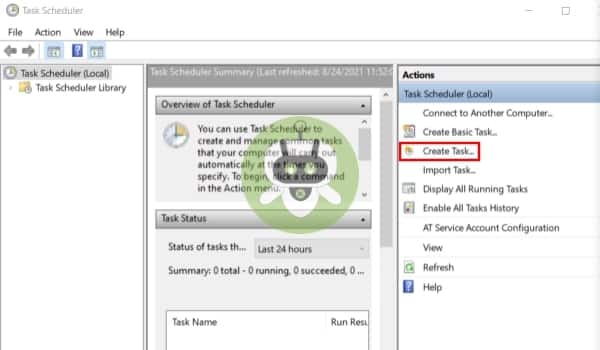
- Create a task in Windows Task Scheduler. This will help to create the Restore Point whenever the Windows is started. To set the task, press Start > type Task Scheduler > Enter.

- Now, click on Create task in the right panel.
- Under the General tab; name the task and select Run whether the user is logged on or not; and select Run with the highest privileges.
- Also, click on the ‘Configure for‘ box, and select Windows 10.
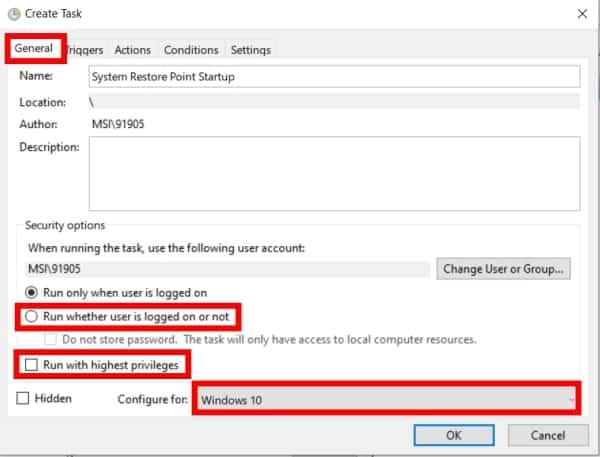
Note: If you don’t find Windows 11 among the options, don’t worry. Windows 11 doesn’t have any stable built yet. Clicking on Windows 10 will still work.
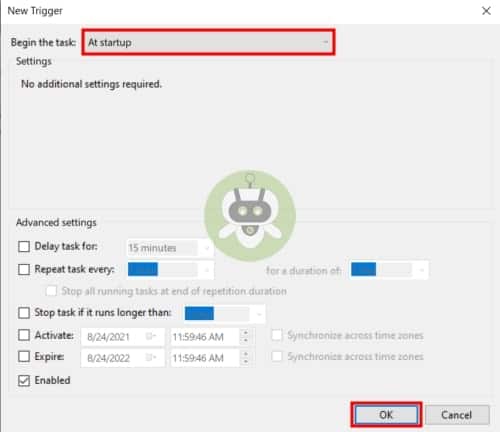
- Click on Triggers tab > New.

- Now, click Begin this task on the drop-down menu, and select At startup. Then click OK.
- Click on the Actions tab > New.
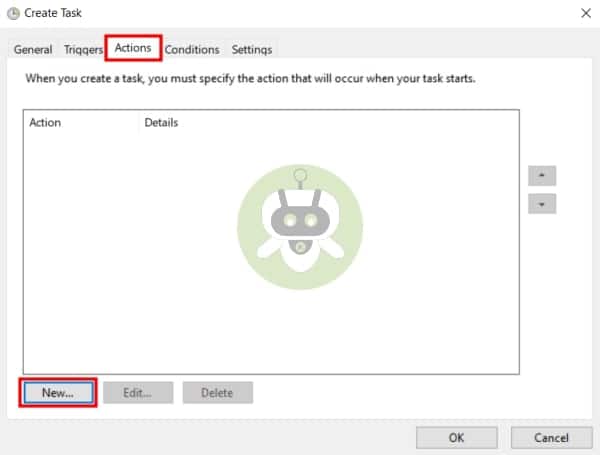
- Now what we’ll do is, we’ll be using a few arguments to run the Windows Management Instrumentation Control Program. And we’ll also let the program know which action to take. Go to the New Action window and ensure that the action is set on default; which is to start a program.
- Now in the script field, type wmic.exe.
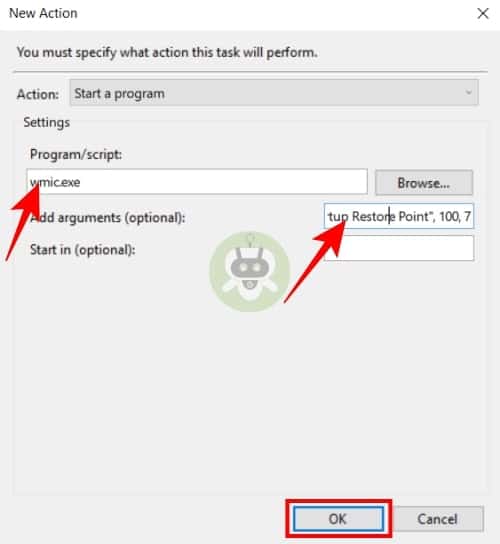
Also, type the following command next to Add arguments (optional) and click on OK.
/Namespace:\\root\default Path SystemRestore Call CreateRestorePoint “Startup Restore Point”, 100, 7
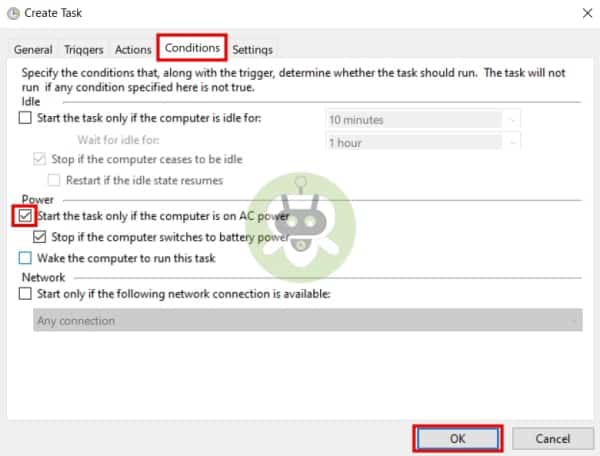
- Switch to the Conditions tab.
- Now, if you’re using a laptop, there’s an option under Power, which says, “Start the task only if the computer is on AC power”. You need to uncheck that. And click OK.
You’ll get prompted to enter your password by the Task Scheduler. Enter the password and click OK.
That’s all you need to do here. From now on, a new System Restore Point will be created every time your device gets started.
Methods To Restore Windows 11 Back To Restore Point
If you find your system to cause trouble, the Restore Points can help to get the system back to its usual condition. It doesn’t matter if the Restore Point was created manually or automatically.
There are few methods to do so.
Method 1: By using System Properties
This is the easiest way to fix your system.
- First, press Start > type ‘Create a restore point’ > Choose the option.
- The System Properties window will appear. Click on System Restore.
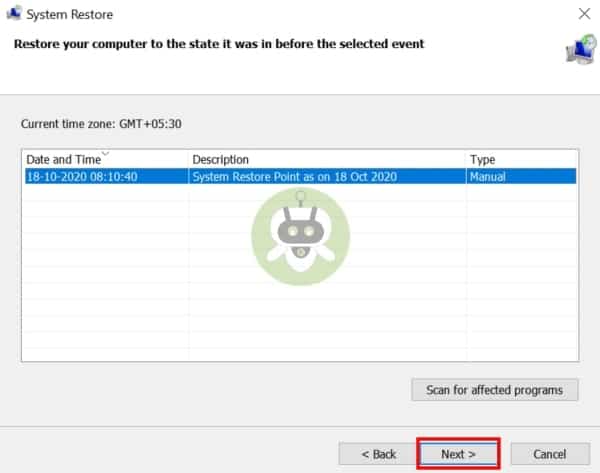
- You’ll be taken to the System Restore window, where you’ll have to click Next.
- Select a System Restore point and then click Next.
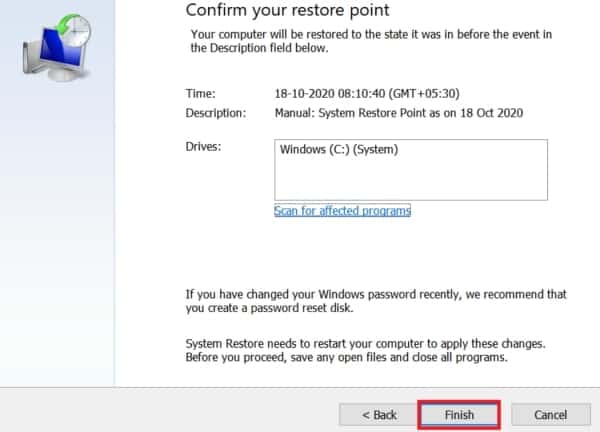
- Click Finish.
Now the system will be restored to its previous status.
Method 2. By using advanced startup
If you’re facing a problem while trying to boot up the system, you have to access the Advanced Startup Settings first. Then you can restore the settings through it. There are basically two ways you can do it.
The first one, turning off your device and pressing F8 before the Windows logo appears. It’ll help the device to boot and recover.
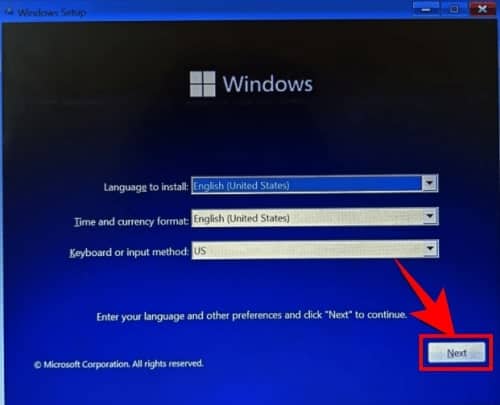
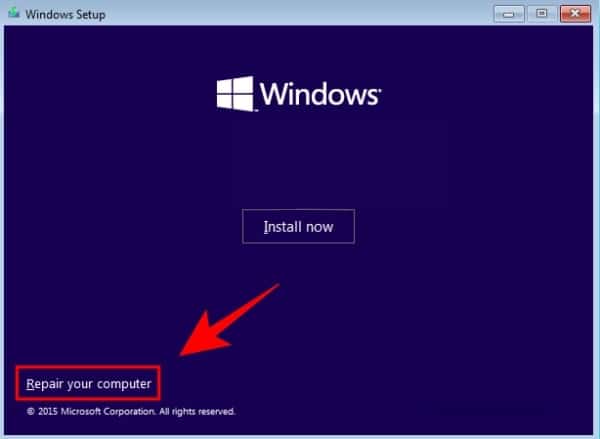
The second one, access recovery using Windows installation media. To do this follow these steps – Windows Setup > Next.
- Now, click on Repair your computer.
Both ways will lead you to Advanced Startup. Now follow the following steps.
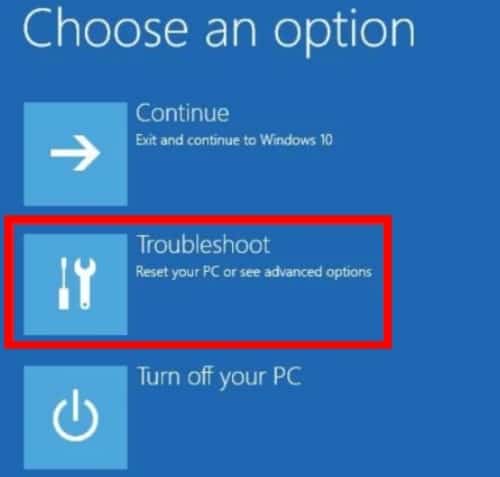
- First, you need to select Troubleshoot.
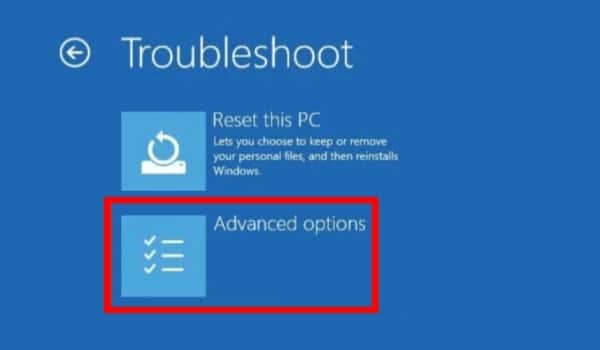
- After that, go to Advanced options.
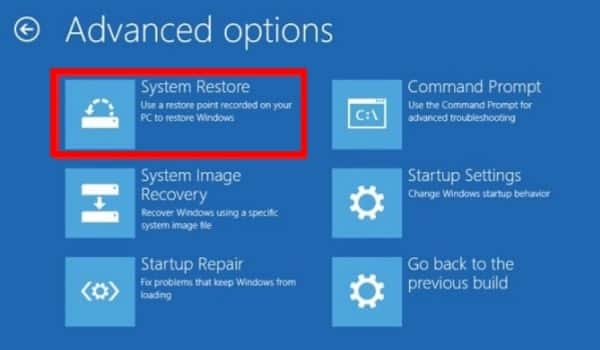
- Now, select System Restore.
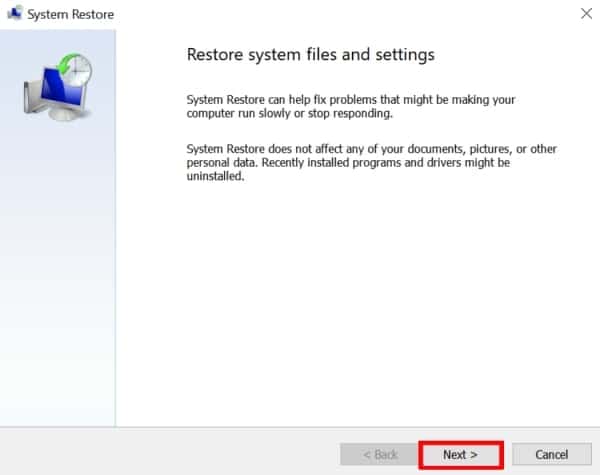
- Click on Next.
- Now, select the option and then click on Next again.
- At last, click Finish to restore your settings.
How To Fix If A System Restore Point Can’t Be Created?
Sometimes you might not be able to create a system restore point in your device. There might be some issues in your system, but there are some easy tricks to fix this problem.
Method 1: Change system restore frequency using Registry Editor
It is also mentioned earlier that by default Windows lets you create Restore Points every 24 hours. Though sometimes it might cause problems.
To allow the system to create Restore Points more frequently, you’ll have to change the settings for system restore points.
- Press Win + R to open the RUN box > regedit > Enter.
- Navigate to the following address.
Computer\HKEY_LOCAL_MACHINE\SOFTWARE\Microsoft\Windows NT\CurrentVersion\SystemRestore
- Right-click in the empty space from the right side and select New > DWORD (32-bit) Value.
- Name it as SystemRestorePointCreationFrequency.
- The value is set to 0 by default. Let it be the same and close the Registry Editor. Now you’ll be able to create Restore Points manually without any limits.
Method 2: Enable system restore via Group Policy Editor
To do this, follow the following steps.
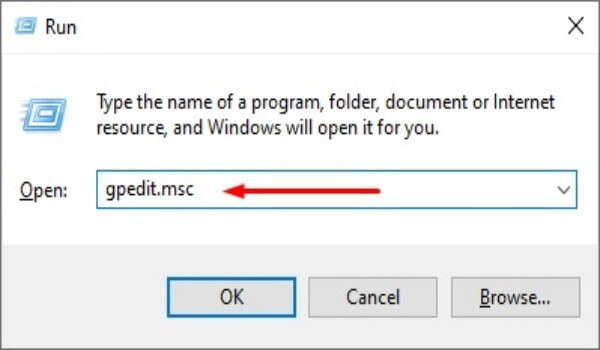
- Press Win + R to open the RUN box > Type gpedit.msc > Enter.
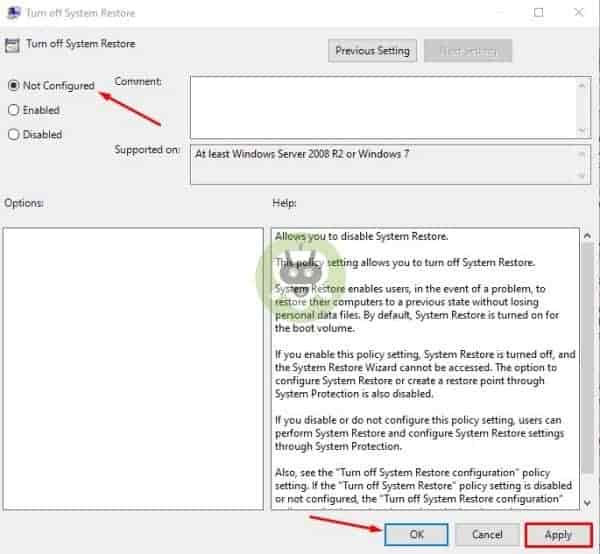
- The Group Policy Editor will be opened by the above step. Now in the left panel, go to Administrative Templated > System > System Restore.
- On the right side, check the state of the two settings. Both of them need to be set to Not configured.
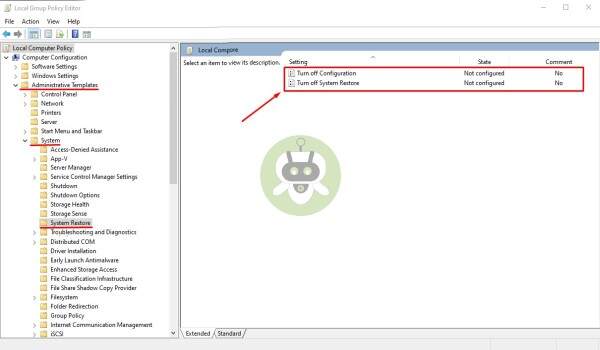
- If either one of them is enabled, set it to Not configured by double-clicking on it.
By now you might be able to create a system restore point if you’ve followed these steps.
Method 3: Turn On Volume Shadow Copy service
If you’re unable to create a system restore point, here’s another method to fix the problem. And that is to turn on or reset the Volume Shadow Copy service. Here’s how to do it.
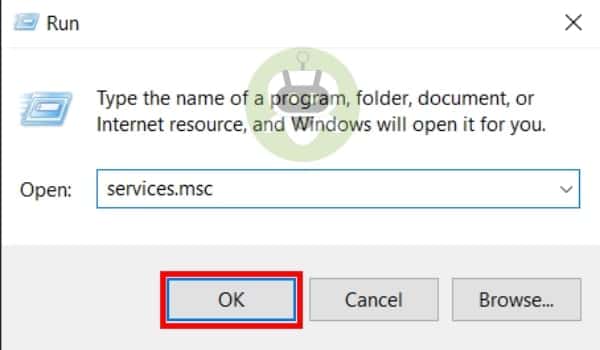
- First you press Win + R to open the RUN box > Type services.msc > Enter.
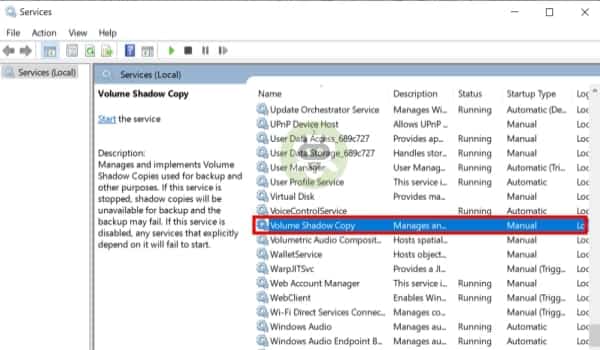
- Scroll down and search for Volume Shadow Copy. Now double click on it.
- Click Start if the service isn’t already running.
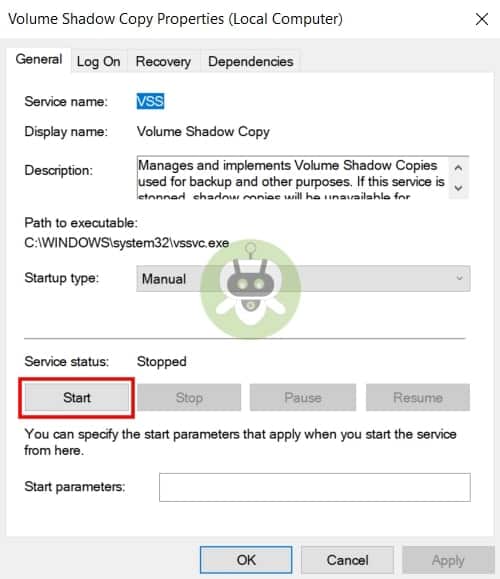
- If the service is running, click Stop and Restart it.
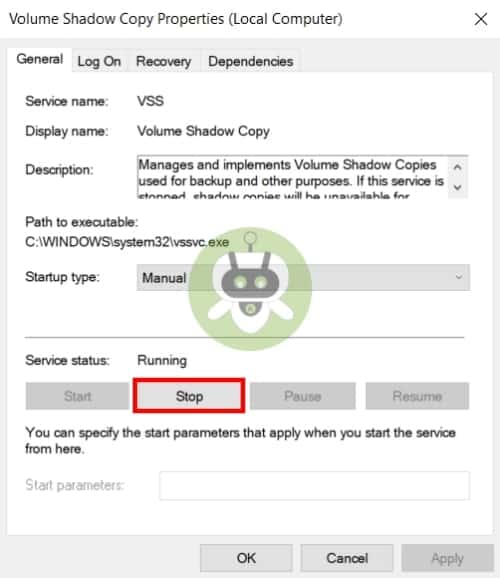
- Now, click Start again.
Conclusion
So, these are the methods to create Restore Points in Windows 11. When a system restore point is created in your device, Windows will take a snapshot of your system data. Here, in this article, we’ve tried to include almost everything related to system restore points. Hope this will help you to get through the problem regarding it if there’s any.
Yes, you can upgrade to Windows 11 from Windows 7.
Yes, Windows 11 is a free upgrade.
Yes, Windows 10 users will get Windows 11 upgrade.