Wondering if you can update Windows 10 to 11 for free? Let us tell you that there are multiple ways to do so. You can use any of these or try all. The process may take time so make sure you keep patience. Along with that, please read the instructions in the guide carefully. Because if you miss any step, you might have to go back to the first step.
Now, let’s talk about its methods. One using the installation assistance. It’s a tool provided by Microsoft only. The second is using a media creation tool. Hence, you can install it on your system and update Windows 10 to 11 following the steps.
Without further ado, let’s get started!
Methods To Update Windows 10 To 11
Before knowing this, let’s get to the eligibility criteria for updating Windows 10 to 11.
Eligibility Criteria For Updating Windows 10 To 11
Windows 11 comes preinstalled on new PCs and laptops. But, why spend money when you can upgrade to Windows 11. In fact, Microsoft offers a free upgrade for its previous version.
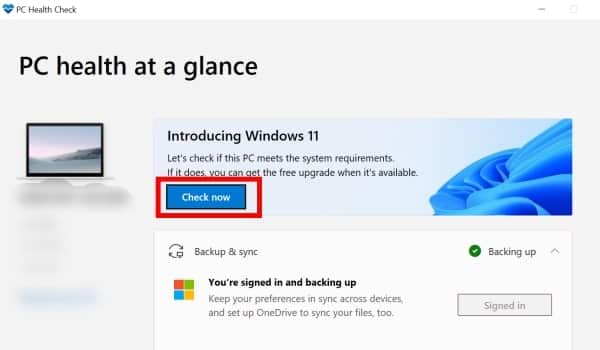
Using Microsoft’s PC Health Check Tool
- Search PC Health Check and launch the app. Now, tap on the Check Now button.
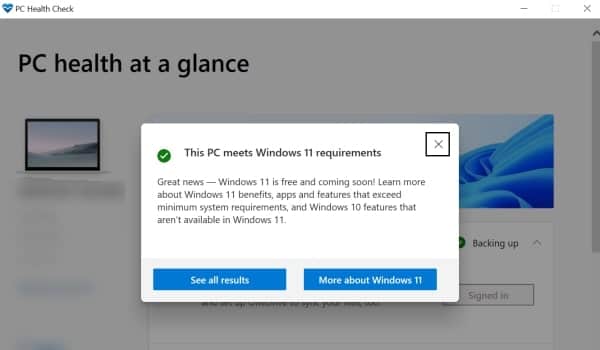
- If your PC is compatible with the Windows 11 upgrade, you’ll receive a message. Moving forward, you need to check for updates.
- Download & Install Updates
- On your Windows 10, open Settings > Update & Security > Windows Update > Check for updates.
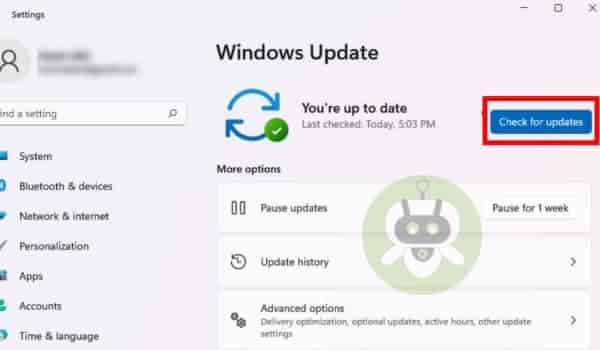
If updates for your system will be available, you will see this on your system.
Method 1: Download With Windows 11 Installation Assistance
Are you eager to update Windows 10 to 11? Then, download with the installation assistance. Before you upgrade to Windows 11, ensure your PC meets these specifications:
- You have a licensed Windows 10 installed on your system.
- Must have Windows 10, version 2004 or higher installed to run Installation Assistance.
- Windows 10 should meet the Windows 11 device specifications for the upgrade.
- Also, check for Windows drivers and hardware compatibility.
- PC should have at least 9 GB of free disk space to download Windows 11.
Download & Install Installation Assistance
Visit the Download Windows 11 page and tap the Download Now option. After you download the installation assistance, select Run but make sure you run as an admin. Wait until it checks for device hardware. After it’s done, a window for license terms appears. Then, select Accept and install. Once the tool is installed properly on your PC, tap the Restart Now button.
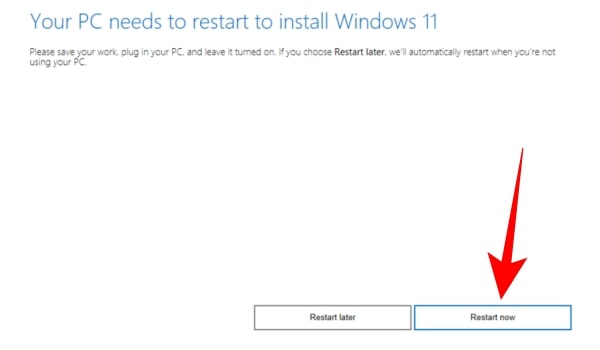
In this process, you have to be patient. Also, if your PC restarts a few times, it’s okay. Just make sure it doesn’t shut down.
Note: If you’re wondering why your Windows 10 is not supporting Windows 11; check your system specification. Windows 11 installation assistance doesn’t run on ARM-based PCs. That means, it only supports and runs x64 bit processors.
Method 2: Microsoft’s Media Creation Tool
Another alternative to installing Windows 11 on your PC is via Microsoft’s Media Creation Tool. This tool also has some prerequisites that you must follow in order to proceed with updates.
- A strong and stable internet connection.
- Should have sufficient data storage available on the computer.
- Blank DVD with 8 GB storage.
- Should have a 64-bit processor.
- Meets other system requirements essential for installing Windows 11.
Download & Install Media Creation Tool
Visit the Download Windows 11 page. Tap the Download Now option. After you download the Media Creation tool, run it as an administrator. Then, agree to the license terms and conditions. For that, select the Accept option. Now you’ll be redirected to the What do you want to do? Page.
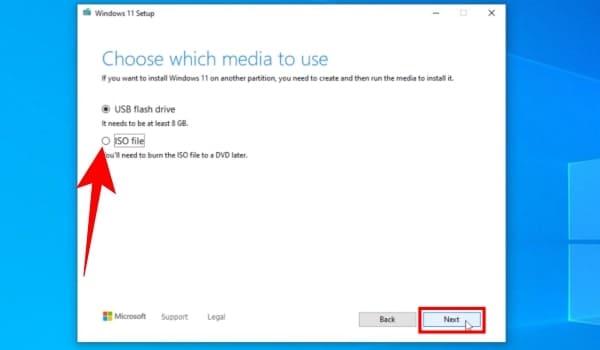
From here, select Create installation media for another PC and then, select Next. After that choose the language and architecture 64-bit for Windows 11. Now, select the type of media you want to use for installation:
- USB flash drive (should have at least 8GB space)
- ISO file
Use ISO file for download
If you wish to upgrade to Windows 11 using the ISO file, you can do so by mounting it. Hence, if you don’t know how to mount the ISO file, here’s how you can do it:
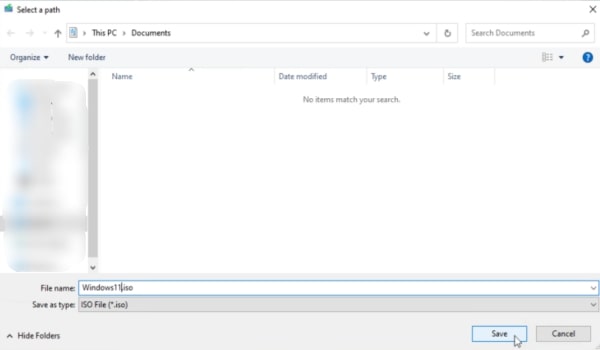
Head to the location where you have saved/downloaded the ISO file. Now, right tap on the ISO file to select Properties > General > Change option > Open with > select Windows explorer (to open the ISO file). Then, hit the Apply button. Moving forward, again right tap on the ISO file. And, select Mount.
It will create a “virtual bootable disc”. Double-tap on the bootable disc. Now, locate and double tap on the setup.exe file to launch the Windows 11 setup. Please keep patience until the process completes. Once done, you can restart your computer and enjoy Windows 11.
Final Words
Windows 11 is truly a great update after a long time. Many users have experienced the new Windows version. You can also update Windows 10 to 11 and share your experience with us. Since it brings a lot of changes, this may take some time to get familiar with. But, overall Windows 11 offers impressive aesthetics and advanced features. Let us know what you like the most about Windows 11.