BlueStacks, for the uninitiated, is an Android emulator that allows you to run Android apps on your PC without any problems. Many users like it for a variety of reasons, including the ability to enjoy a PC-like gaming experience on their favorite mobile game or the ease of being able to use a beloved Android app directly on their PC. In this article, we will be helping you on how to download and use BlueStacks on Windows 11.
Steps To Use BlueStacks On Windows 11
You may have heard that beginning with Windows 11, the operating system will enable native Android apps via the Amazon AppStore. However, the number of apps accessible for download through that channel is still somewhat restricted, with a catalog that is only slowly developing. As a result, you may have to wait a long time for your favorite Android app to operate natively on your Windows PC.
BlueStacks, on the other hand, is a perfectly safe, dependable, and simple way to access and use Android apps on your PC at this time. You can also download the apps using the same Google Play Store account that you use on your phone.
BlueStacks System Requirements
Before you get too excited to download and use BlueStacks on Windows 11, be sure that the system you want to run it on met the system requirements listed below. Though BlueStacks will work with the minimum needs listed below, for the best experience, you should aim for the recommended requirements.
Minimum Requirements
You can use BlueStacks on Windows 11 if it meets these prerequisites. Expect nothing short of a blazingly quick performance.
- Processor: Intel or AMD Processor
- RAM: At least 4 GB
- Disk Space: 5 GB of free space
- Access to Admin credentials or an Administrator account
- The most current stable release of graphics driver update from Microsoft or OEM
Recommended Requirements
- Processor: Intel or AMD Multi-core processor with a Single Thread benchmark score of above 1000.
- Graphics: Intel, Nvidia, or ATI, with onboard or discrete control and a benchmark score of at least 750.
- Storage: SSD (or Hybrid/Fusion Drives)
- RAM: 8 GB or more
- Your computer should have virtualization turned on.
- To gain access to games, accounts, and related content, you must have an active Internet connection.
- The most recent graphic card driver update, either from Microsoft or from the OEM.
Now, let’s get started downloading and installing BlueStacks on your PC.
Download And Install BlueStacks
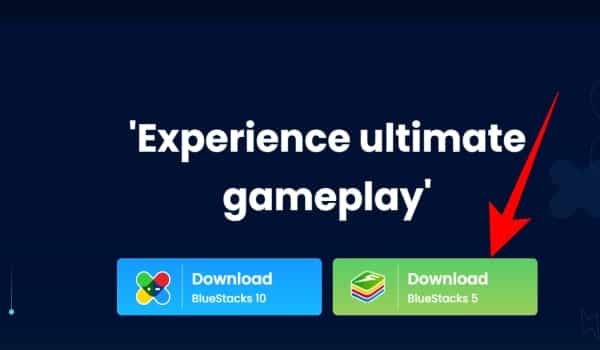
To use BlueStacks on Windows 11, you’ll need to download and install the current version of BlueStacks, called ‘BlueStacks 5’, from the BlueStacks official website and install it on your PC.
- To continue, click the Download BlueStacks 5 tile once the webpage has loaded. This will begin the installation of BlueStacks.
- Then, in your default downloads location, double-click BlueStackInstaller.exe to launch the installer package on your computer.
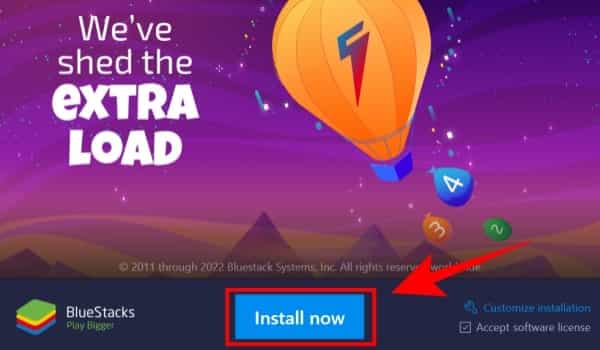
- To begin the installation, click the Install now option on the installer package window. Click the Customize installation button in the window if you want to set up a custom installation directory.
Note: Make sure the installation directory has adequate free space because this is where all of the Android apps and their supporting files will be saved.
- If you selected the Customize installation option, go to the bottom of the window and select the Change folder option. Browse to the folder where you want to install the app. Finally, to begin the installation, click the Install Now option.

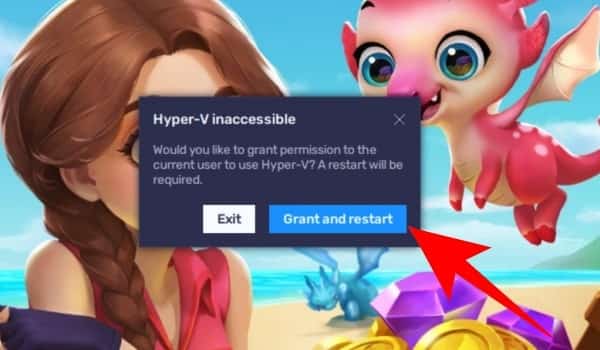
- The installation may take a few minutes to complete. Wait patiently for it to happen. If you get a ‘Hyper-V inaccessible’ message during the installation, click the Grant and restart option to keep going. This will restart your computer right away.
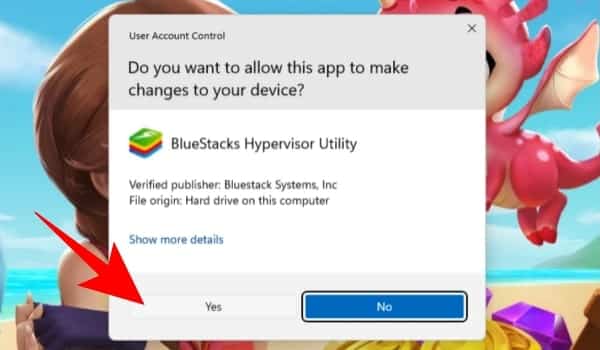
- On your screen, a UAC (User Account Control) screen will appear. Enter the credentials for an admin account if you don’t already have one. Otherwise, proceed by clicking the Yes option. Your computer will restart right away.
BlueStacks will be installed on your PC and you can use BlueStacks on Windows 11 after you restart it. To restart BlueStacks, double-click the Desktop icon on your desktop. Alternatively, you may search for BlueStacks by going to the Start Menu and typing it in. Then select the BlueStacks tile from the search results.
Manually Enable Hyper-V
In some rare circumstances, BlueStacks is unable to enable Hyper-V and displays an error message at launch. If you’re one of the unlucky ones, you’ll have to manually enable it on your computer.
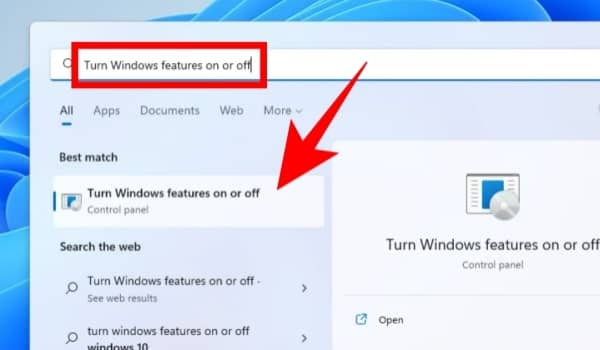
- To manually enable Hyper-V, go to the Start Menu and run a search for Turn Windows features. To continue, pick the Turn Windows Features On or Off tile from the search results. An overlay window will appear on your screen as a result of this action.
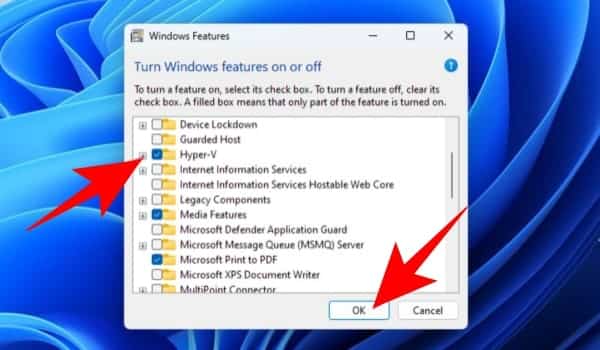
- Scroll down to the Hyper-V option in the Windows Features window and choose it by clicking the checkbox next to it. Similarly, identify the checkboxes before the Virtual Machine Platform, Windows Hypervisor Platform, Windows Sandbox, and Windows Subsystem for Linux options and select them. After that, click the OK button in the bottom half of the window to continue.
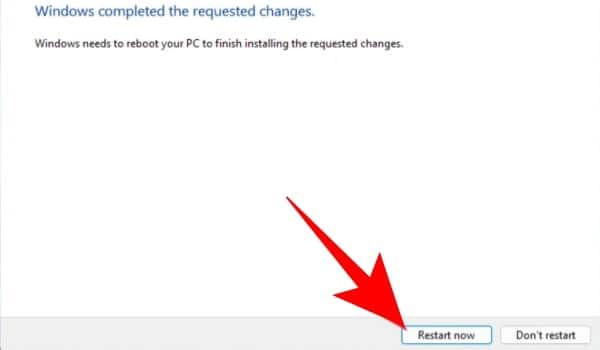
- It’s possible that Windows will tell you that you need to restart your computer to implement the modifications. Click the Restart Now option to restart straight away. Otherwise, select the Don’t Restart option to restart later at your leisure.
Once your PC has restarted, run BlueStacks as instructed earlier in this guide. It should be working well this time.
Download Android Apps By Logging Into The Google Play Store
Once BlueStacks has been successfully installed on your computer, sign in with your Google account and begin downloading Android apps to your Windows PC.
- To begin, open the BlueStacks program from the Desktop shortcut or by searching for it in the Start Menu. To continue, locate and click the Play Store button on the BlueStacks home screen. An overlay window will appear on the screen as a result of this.
- To continue, click the Sign in option on the overlay screen. Enter the credentials for the Google account you want to use to download the apps.

- Then, on the setup screen, you’ll be asked if you want your app data to be backed up to Google Drive, which is enabled by default. If you don’t want a backup, change the Google Drive toggle switch to the Off position on the screen. Then, to proceed, click the Accept option.
The Play Store home screen will appear once you’ve signed in. You may now browse the apps by category using the tabs located directly beneath the search bar. Alternatively, you may use the search bar to find the application you want.
Once you’ve found the program you want to download, expand it by clicking on its tile. To download and install the app, go to the enlarged view and click the Install button on the right side of the screen. The app will appear on the BlueStacks app’s home screen once it has been installed. To open the app, click on the app tile.
Uninstalling Android application
Now that you know how to install and use BlueStacks on Windows 11, learn how to uninstall an Android app.
- Go to the BlueStacks program’s home screen and click and hold the app you want to uninstall. A context menu will appear as a result of this action. To proceed, select the Uninstall option from the list. A pop-up window will appear.
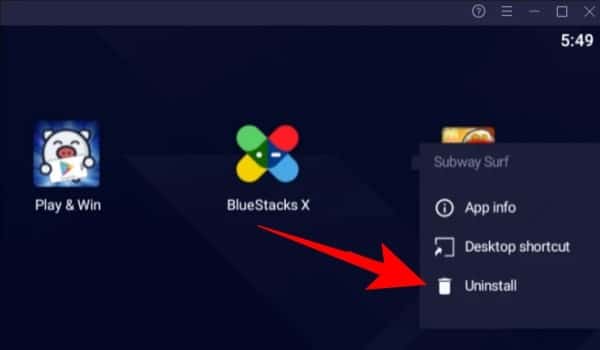
- To begin the uninstall, click the OK button on the overlay window on your screen.
Adjust BlueStack’s Settings for a Better Experience
If you have a high-end PC and want to improve your BlueStacks gaming experience, you can easily modify the settings within the program.
- To change settings, go to the bottom-right corner of the home screen window and click the Settings icon.
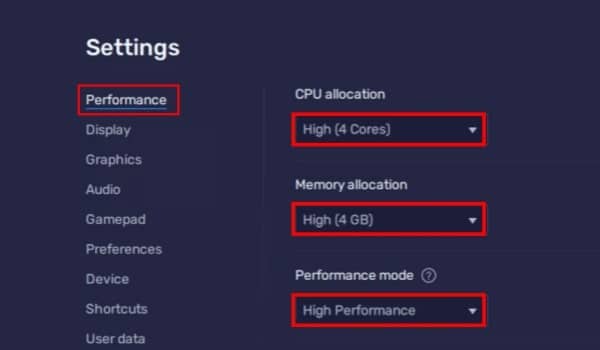
- Next, pick the Performance tab from the left sidebar on the Settings screen. Select the High option from the dropdown menu beneath CPU allocation on the right side of the screen. Similarly, select the High option from the dropdown menu under the Memory allocation box. Then, under Performance mode, click to enlarge the dropdown and select the High Performance option once more.
- If you have a screen with a higher refresh rate, look for the Enable high frame rate option and turn it on by clicking the following toggle switch. Then, beneath the Frame rate section, drag the slider to the figure that corresponds to the screen refresh rate to experience smoother gameplay. Once you’ve set all of your choices, click the Save changes button in the bottom right corner to save your changes.
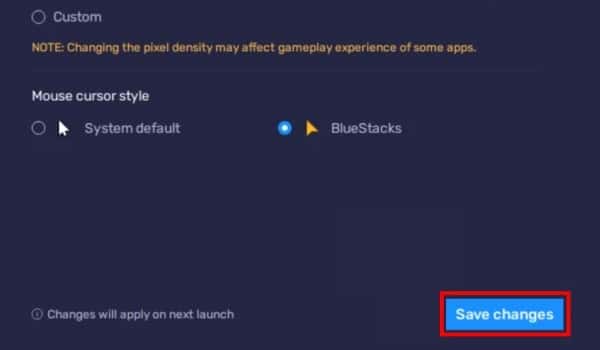
- Then, in the right area of the window, click the Display tab. On the right area of the window, locate the Display resolution section and click on the radio button preceding the choice to select the highest resolution supported by your display. Once you’ve finished, click the Save changes button in the bottom-right corner of the window to save your changes.
- By going to the Shortcuts tab on the left side of the Settings window, you can see a list of all the shortcuts that can be run by BlueStacks and through which you can use BlueStacks on Windows 11.
- If the data from your BlueStack apps start to take up a lot of space on your PC, go to the User Data tab in the settings app. To proceed, click the Free up space button on the right section of the window. An overlay window will appear on your screen as a result of this.
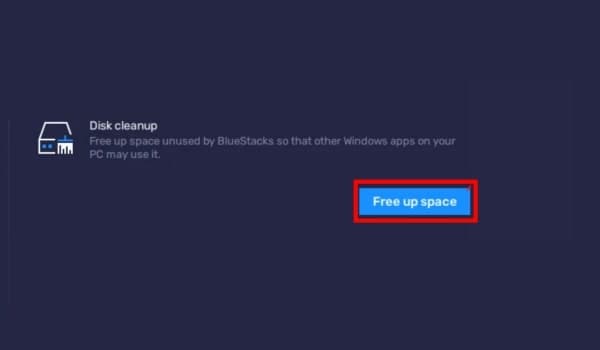
- To continue, click the Continue button in the overlay window.
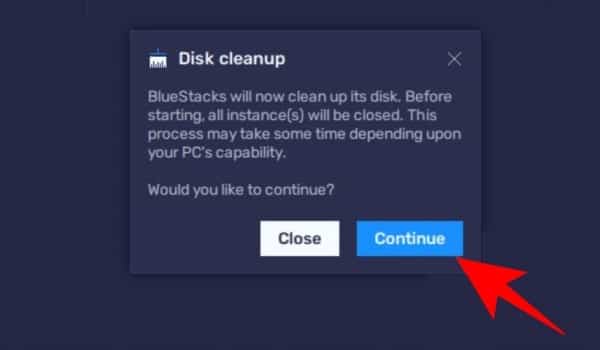
Please be aware that this action will close all instances of the BlueStacks app currently running on your PC. On your system, BlueStacks will start the Cleanup process. Wait patiently for the process to complete. The BlueStacks app will reopen once the task is completed and then you can use BlueStacks on Windows 11.
Is It Possible To Upgrade From An Older Version Of BlueStacks?
No, you can’t download it from an older version. The Android emulator BlueStacks 5 is a thorough rebuild and the only way to get it is to download and install the most recent version, as described above. You can run both BlueStacks 4 and 5 on the same computer if you like. This means you can use BlueStacks 4 to play any game you want.
Yes, you can run BlueStacks on Windows 11.
Yes, you can play Android games on Windows 11 using the Android emulator.
No, BlueStacks is better than NOXplayer.