There are times when you might wish to rename every file in a huge collection in order to manage them better. Windows 11 offers a couple of ways to batch rename files in Windows 11. Since doing it manually can be a very difficult job, this article will let you execute the process easily.
Methods To Batch Rename Files In Windows 11
Few methods to batch rename files in Windows 11 are listed below.
Method 1: Use Windows 11 File Explorer
Did you know that Windows 11’s default file explorer allows batch file renaming? Although it isn’t as flexible as PowerToys or some other third-party applications to batch rename files in Windows 11, it works for most people. Here’s how it operates:
- Open File Explorer by pressing the Windows 11 keyboard shortcut Win+E and choose the files you want to rename. Select the Rename icon from the context menu by performing a right-click on the files you want to rename. You can also rename the file using the F2 keyboard shortcut.
As soon as you’ve renamed the file, press Enter. Even if the text box will appear in one of the chosen pictures, it’s important to note that Windows will give all the chosen files, the same name despite their varying numbers.
Method 2: Use Third-Party App
Another option is to use specialized applications to rename files in mass. Although there are many solutions available, FastStone’s Photo Resizer is one program we would suggest. The software is quick and has a little learning side, despite its somewhat “out of date” appearance.
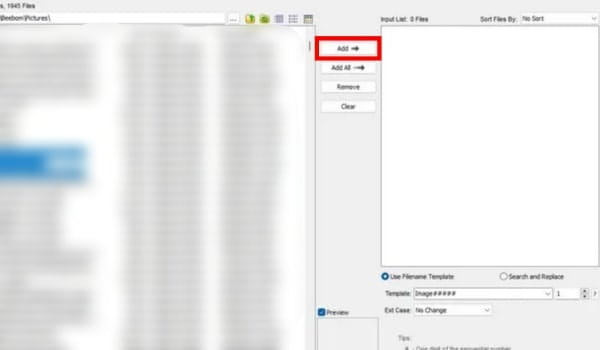
- Download and install FastStone Photo Resizer, then go to the folder containing the files you want to rename. To add the selected files to the renaming line, click the Add button.
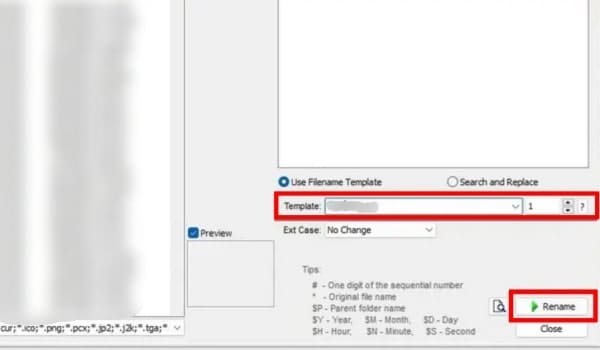
- You can now search and replace particular words in the file name to set the common name or use the filename template. Using the symbols described in the app’s suggestions section, you can also use the parent folder’s name, year, date, and other information. Click Rename to rename files in bulk after choosing the desired name and format.
- You’ll see a confirmation prompt from the application. In order to accept the modifications, click Yes.
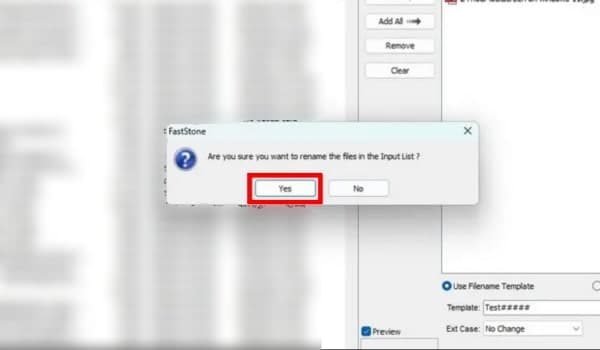
The files you’ve chosen will now be renamed by FastStone, and the results can be seen on the next page.
Method 3: Use PowerToys
Run the setup file after downloading the PowerToys installer’s most recent version from GitHub. After installing, follow the directions displayed.
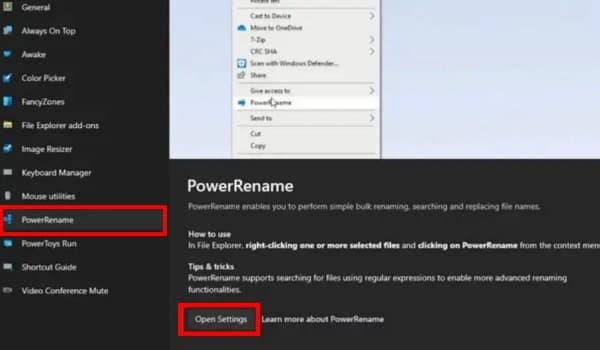
- To view your PowerRename settings, click Open Settings from the PowerRename tab present in the left sidebar of PowerToys after it has opened.
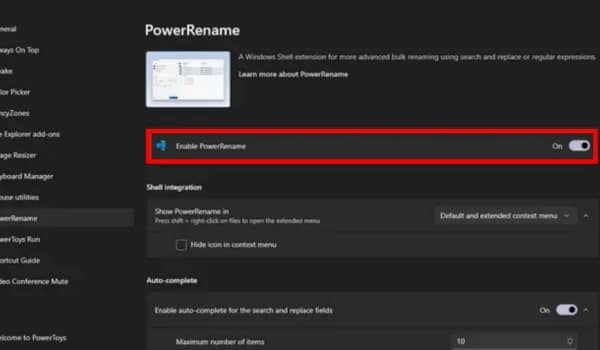
- Now, you’ll see the Enable PowerRename toggle is turned on by default. If that isn’t the case, make PowerRename available by tapping on the toggle.
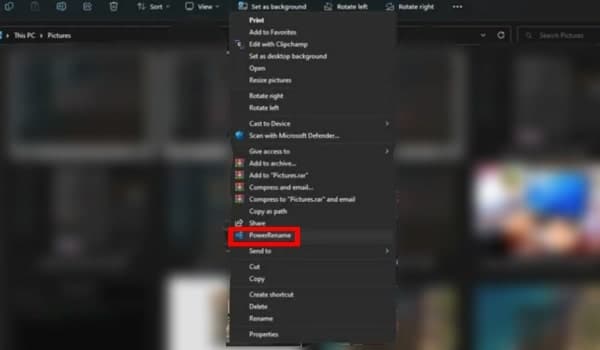
- Make a right-click selection of the files you want to rename. When the context menu appears, choose Show additional choices to bring the PowerRename option.
- Type the replacement word in the Replace with textbox after entering the target word in the top box on PowerRename’s interface.
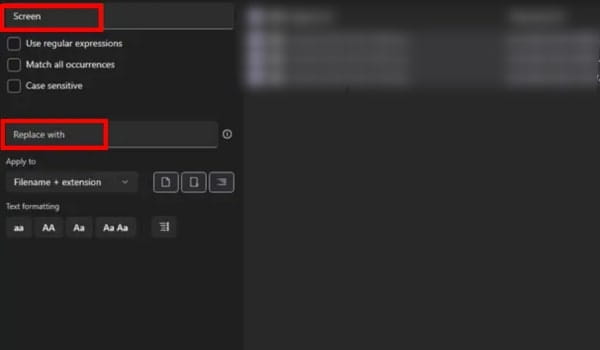
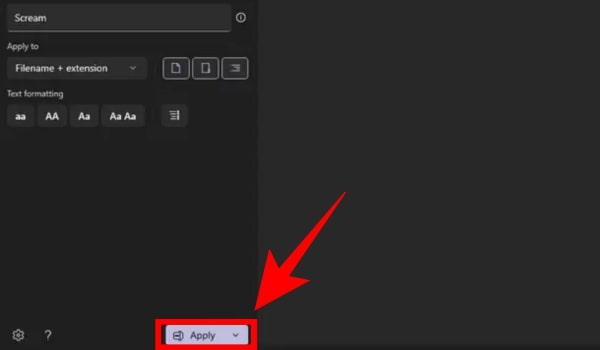
- Use PowerRename by clicking the Apply button present in the bottom-left corner of the system.