Here, in this article, we will talk about how to enable ultimate performance plan in Windows 11. This can actually boost up the performance of your system. No matter if you are aware of the power plans in Windows or not, we will have a detailed discussion here, so that it’s easy for you to catch up.
Windows generally come with three power plans, which are Balanced, Power Saver, and High Performance. Most of the user’s needs are met between these three power plans.
But there are some users, who need every bit of the performance that their system can deliver. And for them, the High-Performance plan falls short. For those users, Windows has an extra power plan, which is the Ultimate Performance power plan.
What is the Ultimate Performance power plan?
The Ultimate Performance power plan is a specially engineered power plan to bring an extra boost in performance. For high-power systems like workstations and servers, it’s a perfect fit to bring a boost in performance. This power plan is able to eliminate the micro-latencies that are associated with fine-grained power management techniques.
The ‘Micro-latency’ is the slight time taken by the OS between its recognization when a certain piece of hardware needs power and when it delivers the required power.
Windows includes some settings which allow the system to tune the behavior depending on numerous factors like user preferences, workload, underlying hardware, etc. These tradeoffs are eliminated in the Ultimate Performance power plan. Since this power plan is built upon the High-Performance one, it takes a step further.
How does the Ultimate Performance power plan work?
To get a clear idea, we have compared it with the Balanced Power plan. In the Balanced plan, the minimum and maximum processor states are set to 10% and 90% respectively. But in the Ultimate Performance plan, both the minimum and the maximum processor state is 100%.
It means that the CPU will continuously be running at 100% power even if some of the cores have nothing to do.
The main difference between the High Performance and the Ultimate Performance plan is that in the Ultimate Performance plan the hard disk is set to never stop spinning. It will continue spinning even if the system is idle.
This power plan can certainly boost the performance of the users who do video editing or other 3D software which may put an excessively heavy load on hardware. But it might not make much of a difference in the case of running a gaming system.
Steps To Enable Ultimate Performance Plan in Windows 11
Now that you are quite aware of what it is and how it works, let’s move forward and learn how to enable Ultimate Performance plan in Windows 11. If your system has Ultimate Performance plan officially enabled, the rest of the work is almost a cakewalk for you.
- The first thing you need to do is to open the Control Panel on your system. You can also find it with the help of the Search option on the Taskbar.

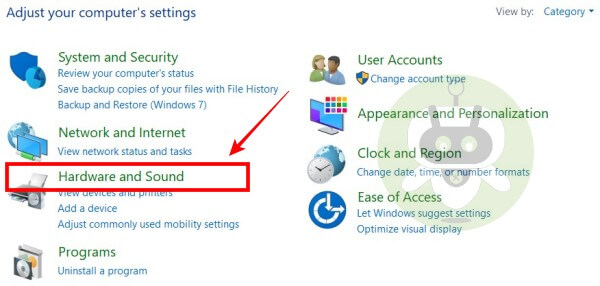
- Next, go to Hardware and Sound.
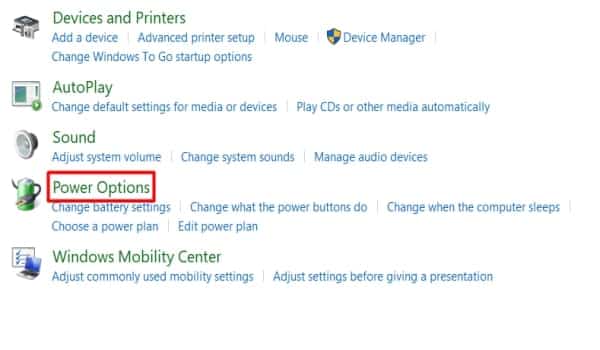
- From the list of options available, select Power Options.
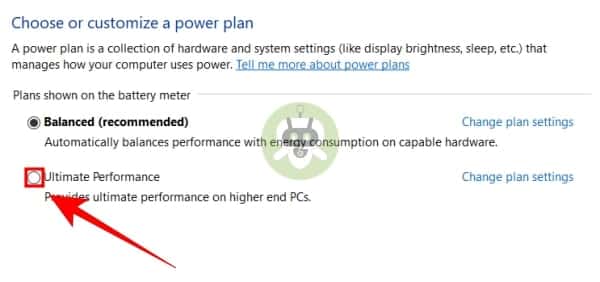
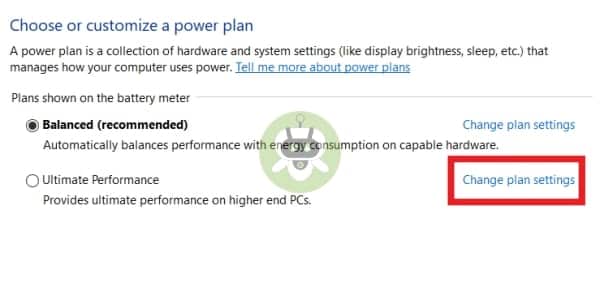
Here the available power plans for your device will appear. If the Ultimate Performance power plan is available for your computer, it will also be shown here. Though it might happen that the Ultimate Performance power plan is not directly listed with the other plans.
If you locate a ‘Show additional plans‘ option, head to it. This will show the expanded options. But if it doesn’t, you need to enable it manually following the instructions mentioned in the next section.
- Click the Radio button next to it in order to use it.
- You can customize this plan as well. Click on Change plan settings to customize it according to your preference. But it is not recommended to customize it, because the customization might hamper the Ultimate Performance that it promises to provide.
How to add the Ultimate Performance plan to Windows 11?
As mentioned before, here are the steps to add the Ultimate Performance power plan manually to your PC, in case your system doesn’t have it.
- Go to the Search option and type either ‘Command Prompt‘ or ‘Windows PowerShell‘. Then click on the Run as administrator option. This will lead the app to run in Admin mode.
- Now, a User Account Control Prompt will appear on the screen. Click on Yes to move forward.
- Then, type or copy-paste the command mentioned below.
powercfg -duplicatescheme e9a42b02-d5df-448d-aa00-03f14749eb61
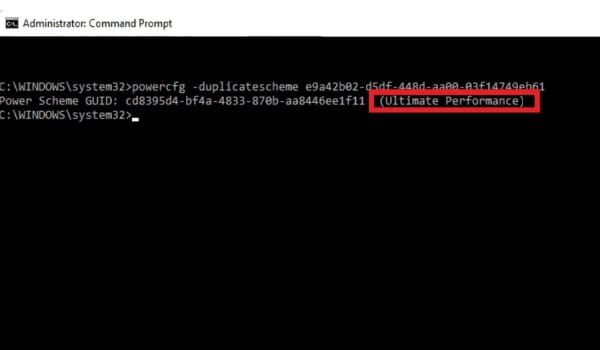
- When the command gets executed, you will see the Ultimate Performance on the console. After that, once again open the Power Options in the Control Panel.
- If the app was open while the command was running, hit Refresh.
- Now, click on the ‘Show additional plans‘ option. You will see the Ultimate Performance plan to be available there. Click the Radio button next to it to enable it.
How to delete the Ultimate Performance plan from the system?
If you have added the Ultimate Performance power plan manually to your computer, you can delete it as well. But before you delete this power plan, make sure that you have shifted to another power plan and you have enabled it.
If you try to delete a power plan on which your system is currently running, it might mess up your entire system.
To delete the manually added Ultimate Performance power plan, follow these steps.
- Switch to another plan and enable it from the Power Options.
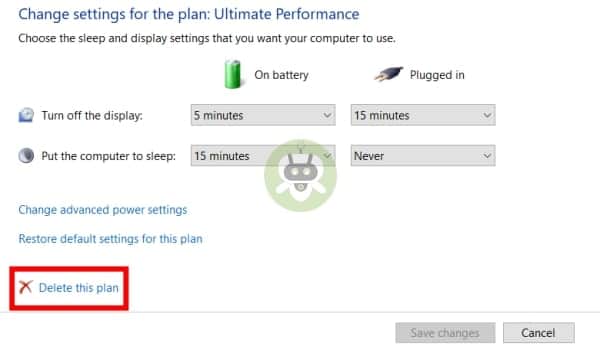
- Now, click on Change plan settings next to the Ultimate Performance plan.
- This will open the options for changing the settings. Click on the Delete this plan option.
- Click on OK to proceed when a confirmation note pops up on the screen.
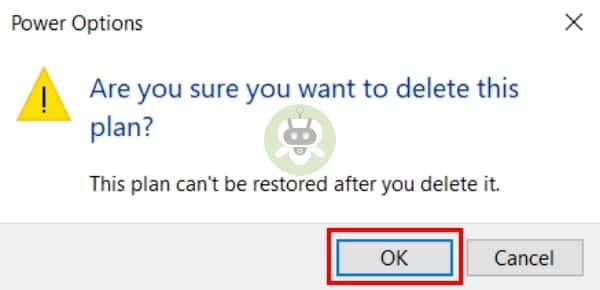
And you are done. The manually added Ultimate Performance power plan will be deleted from the system.
Conclusion
This article not only describes how to enable Ultimate Performance plan in Windows 11 but also talks about all the things that you need to know about the power plan. Hope this comes to your help. We also wrote an article on how to create Restore Point in Windows 11. If you are looking for the same, do checkout.
Yes, you will experience a slight difference if you turn on high-performance mode.
Yes, Windows Ultimate Performance does work.
No, the high-performance mode doesn’t increase the FPS.