
In this article, we will talk about how to install RSAT on Windows 11. But before that, you should have a clear idea about the RSAT or Remote Server Administration Tools.
RSAT is basically used for remote management of the roles and features on a Windows server from a PC, which runs a Windows operating system. But this RSAT doesn’t always come pre-installed on every Windows computer. In fact, Microsoft offers them as optional features. The users can install the RSAT tools later if they feel like doing so.
Methods To Install RSAT On Windows 11
You can install RSAT on Windows 11 manually, and you also get to choose between multiple alternative ways to do so. Here, some methods to install RSAT on Windows 11 are being mentioned.
Install RSAT on Windows 11 From Settings
Unlike the previous versions of the Windows operating system, Windows 11 is too much straightforward in terms of installing any software or applications. To install RSAT tools from Settings, follow the steps mentioned below.
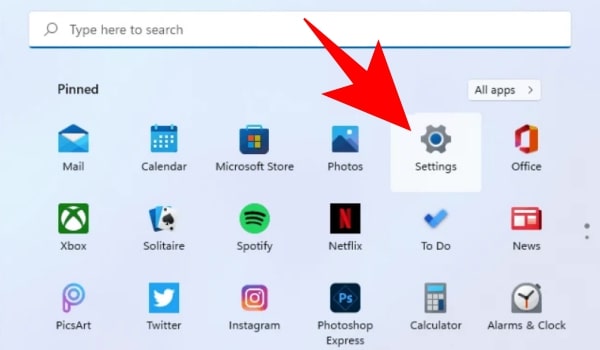
- First, you need to open the Settings. (Start > Settings)
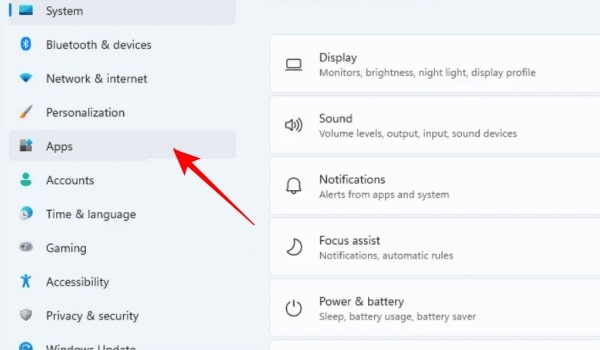
- Then, click on the Apps tab from the left sidebar of the Settings window.
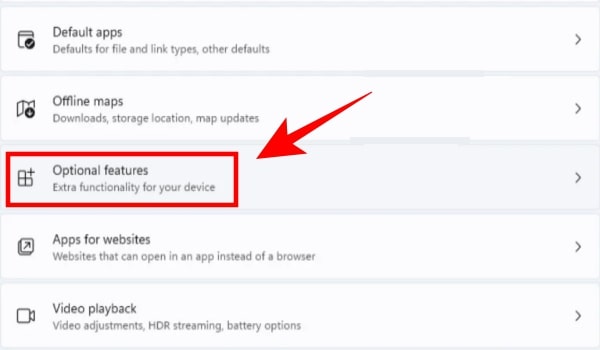
- Next, open the Optional Features tile from the right side of the window.
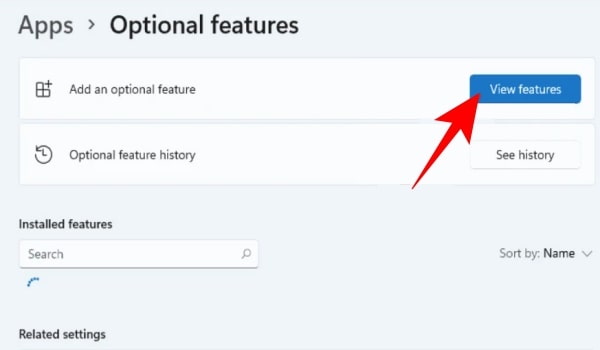
- Click on the View Features from the Add an Optional Feature tile. You will get to see the list of all optional features.
- Now, either scroll through the alphabetically organized list or type RSAT in the search box. All the RSAT options will be shown on the overlay window screen.
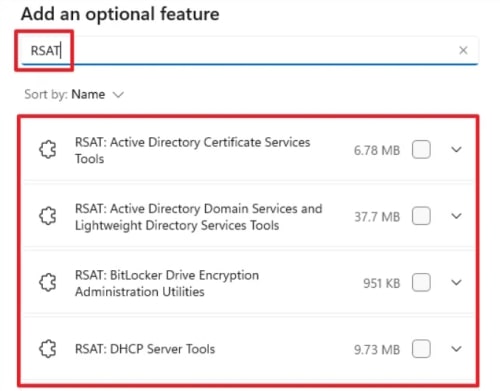
- Click on the checkboxes corresponding to each of your desired options and click Next to proceed to the next step.
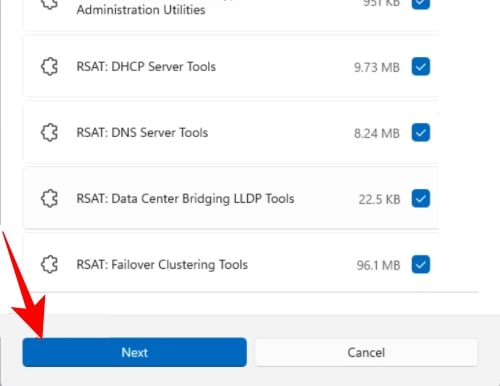
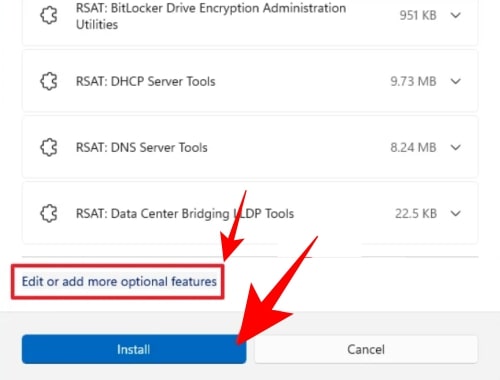
The checkboxes you selected, will be listed down and will help you realize which components are going to be installed. You can add or remove features as per your choice by clicking on the ‘Edit or add more optional features. Once you’re done, click the Install button.
It might take some time to get everything installed. The Optional Feature page will let you monitor the installation progress. Once it’s done, head to the last section of the guide to know about the access procedure for the newly installed components.
Install RSAT in Windows 11 Using PowerShell
The PowerShell command-line tool can also be used to install RSAT on your Windows computer. The good thing about this method is that you can either install all the RSAT tools in a single go or install individual tools as per your choice. The following steps show how to do this.
- First, right-click on the Start menu from the taskbar.
- Next, select Widows Terminal (Admin) option from the pop-up menu. Then you will see the UAC or User Account Control overlay screen.
- If an admin account is not logged on, you need to enter your credentials. Otherwise, click the Yes button from the prompt.
- Then type or copy-paste the command mentioned below.
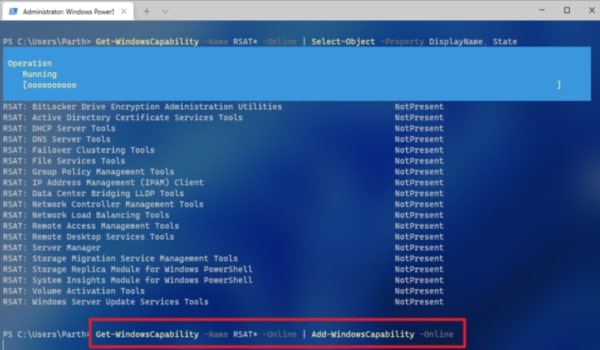
Get-WindowsCapability -Name RSAT* -Online | Select-Object -Property DisplayName, State
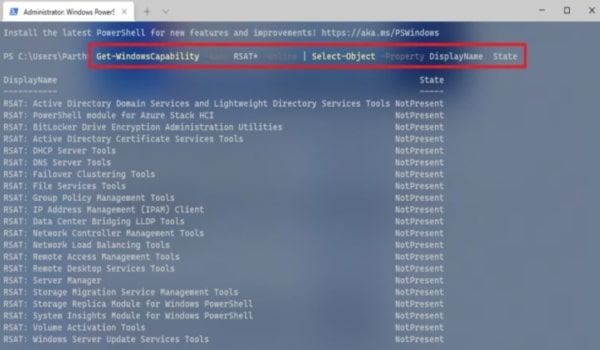
- After that hit Enter. You’ll be able to check the available RSAT tools for your device and their current status. By this, you’ll realize which components you need to install.
Install all RSAT Components in a Single go
In case you need to install all the RSAT components, you can install all of them in a single go. You just have to use a single command to do this.
- First, type or copy-paste the following command from the elevated PowerShell window.
Get-WindowsCapability -Name RSAT* -Online | Add-WindowsCapability -Online
- Next, hit the Enter key to execute the command.
The process might take some time depending on the capability of your device or your internet connection.
Install RSAT Components Individually
In case you don’t need all of the RSAT components, you can choose and install them individually too. To do this follow the given steps.
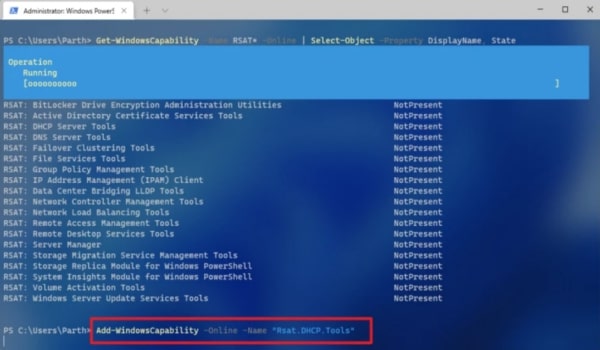
- First, type or copy-paste the following command from the elevated PowerShell window.
- Then, hit the Enter key to execute the command.
Add-WindowsCapability -Online -Name “Rsat.<tool name>.Tools”
In the link mentioned above, the ‘<tool name>’ is a placeholder. You can replace it with the tool names of your preference that you wish to install before executing the command. For example: To install DHCP server tools just replace the <tool name> in the command with the <Rsat.HDCP.Tools> argument.
However, for your help, all the system string names for each of the RSAT components is being listed down below.
| Tool Display Name | System String | Complete Argument |
| Active Directory Domain Services and Lightweight Directory Services Tools | ActiveDirectory.DS-LDS | Rsat.ActiveDirectory.DS-LDS.Tools |
| BitLocker Drive Encryption Administration Utilities | BitLocker.Recovery | Rsat.BitLocker.Recovery.Tools |
| Active Directory Certificate Services | CertificateServices | Rsat.CertificateServices.Tools |
| DHCP Server Tools | DHCP | Rsat.HDCP.Tools |
| DNS Server Tools | DNS | Rsat.Dns.Tools |
| Failover Clustering Tools | Failover.Cluster.Management | Rsat.Failover.Cluster.Management.Tools |
| File Services Tools | FileServices | Rsat.FileServices.Tools |
| Group Policy Management Tools | GroupPolicy.Management | Rsat.GroupPolicy.Management.Tools |
| IP Address Management (IPAM) Client | IPAM.Client | Rsat.IPAM.Client.Tools |
| Data Center Bridging LLDP Tools | LLDP | Rsat.LLDPTools |
| Network Controller Management Tools | NetworkController | Rsat.NerworkController.Tools |
How to Run RSAT Tools in Windows 11?
Once you are done with the installation of RSAT on your device with the preferred method of yours, it’s time to learn how to access them.
To do this follow the instructions.
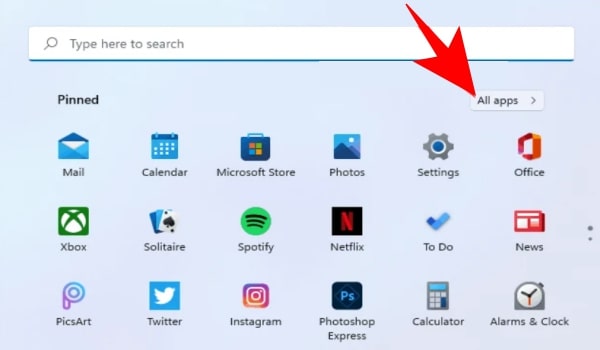
- First, click the Start menu from the Taskbar.
- Then, click on All Apps from the top right corner.
- Now, scroll down and locate Windows Tools title from the alphabetically organized list. Click on it, and a new Explorer window will open.
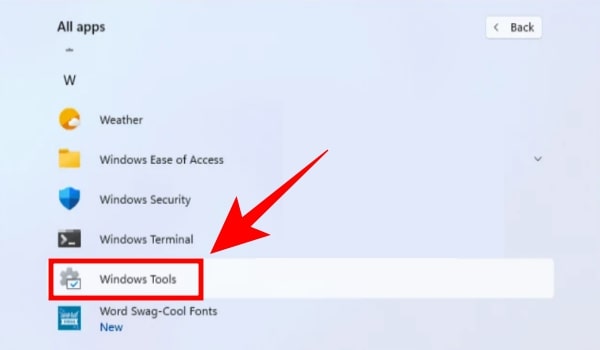
Here you will find all the installed RSAT components. And to launch any of them, you just need to double click on any tool of your preference.
Conclusion
These are the best and easiest methods to install RSAT on Windows 11. If you go through the article thoroughly, you will know how easy these methods are. Hope you like this article; if you have any query regarding this article then leave a comment in the comment section below.
Yes, you can install RSAT on Windows 10 Home.
The purpose of installing RSAT tools is to remotely manage Active Directory, DNS, and DHCP.
Yes, you can use a regular PC as a server.